


How to Integrate with Etsy and Import Orders
Integrating your Etsy store with Printseekers allows for a streamlined order fulfillment process, saving you time and effort. This guide will walk you through the steps to connect your Etsy store to our system and import your orders seamlessly. Follow these instructions to ensure smooth integration and efficient order management.
Step 1: Log into Your Printseekers Account
- Access the fulfillment system: Open your web browser and navigate to Printseekers fulfillment system.
- Enter Your Credentials: Log in using Facebook / Google or Input your e-mail address and password, then click "Log In."
- Check Your Profile: Ensure your billing and profile information are correctly entered and set up.
Step 2: Go to ‘’Create Orders’’ Section and Click “Connect Etsy Store.”
- Navigate to the Menu: On the left-hand side of your dashboard, locate the menu.
- Select “Create Orders”: Click on the “Create Orders” section to expand it.
- Connect Your Store: Click the “Connect Etsy Store” button to start the integration process.
.png)

Step 3: Log into Your Etsy Store and Click the “Grant Access” Button
- Log into Etsy: You will be redirected to Etsy. Enter your Etsy credentials to log in.
- Grant Access: Once logged in, click the “Grant Access” button to allow Printseekers to connect to your Etsy store.

Step 4: Import Etsy Orders
- Integration Confirmation: After granting access, you will be redirected back to Printseekers.
- Import Orders: In the “Create Orders” section, click the “Import Etsy Orders” button. This will automatically import all your active Etsy orders (those, that are not completed) into the Printseekers fulfillment system.
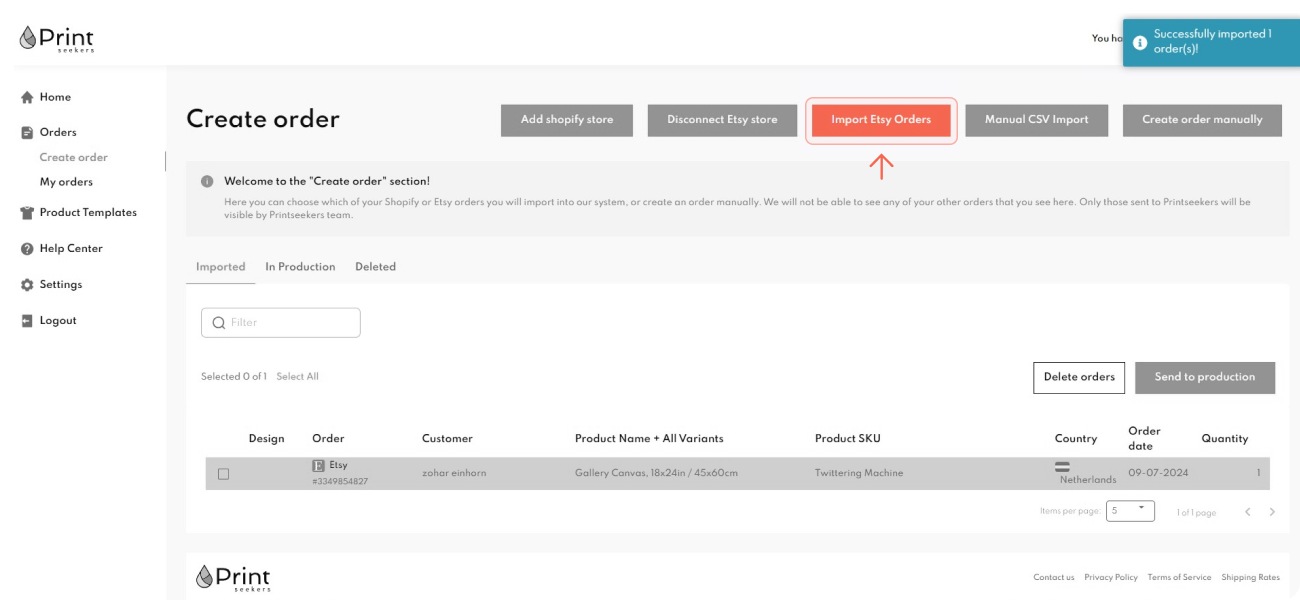
Step 5: Click on the Order That You Want to Fulfill
- View Imported Orders: Navigate to the list of imported orders in the “Create Orders” section.
- Select an Order: Click on the specific order you want to fulfill.
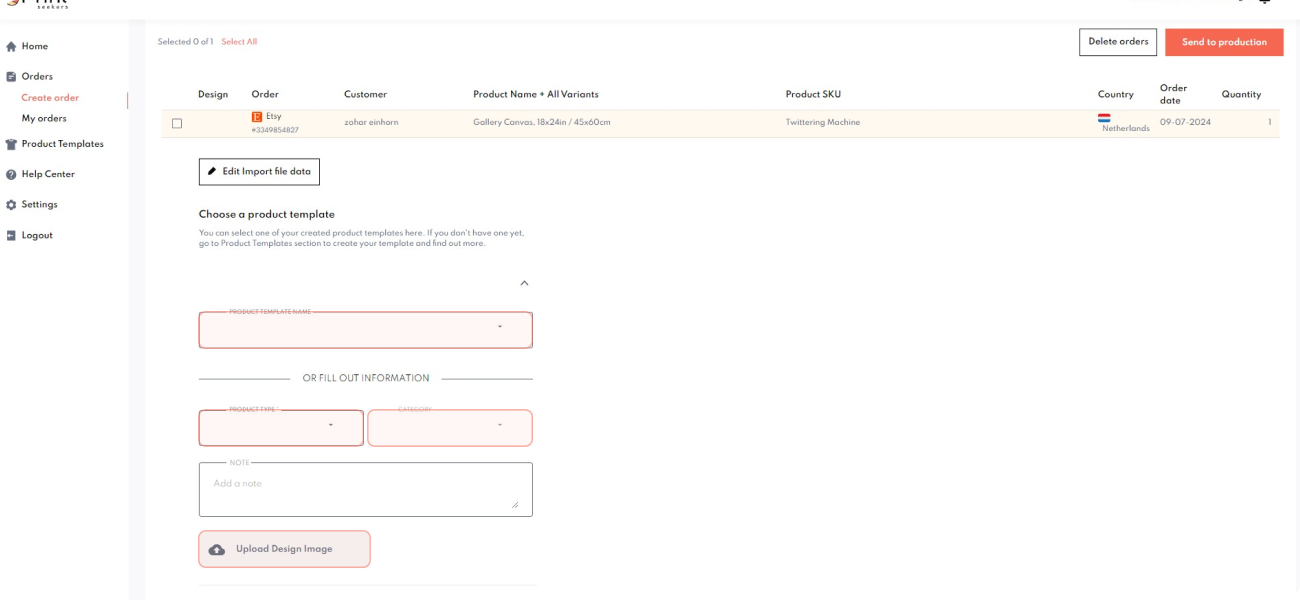
Step 6: Enter Product Information and Upload Design or Choose from a Pre-made Template
- Enter Product Details: Input the necessary product details such as product type, category, size, and quantity.
- Upload Design: Upload your custom design for the product or choose from a pre-made template available in the system.
Step 7: Accept the Order, and You’re Done!
- Review and Accept: Review all the entered information to ensure it is correct.
- Accept Order: Click the “Accept Order” button to confirm and complete the fulfillment process.
Found the article insightful? Share it!

Post

Share

Share

Copy
Most Popular
Thank you! Your submission has been received!
Oops! Something went wrong while submitting the form.


